The creator economy has reached unprecedented heights. Short-form video dominates global attention across TikTok, Instagram Reels, YouTube Shorts, and emerging decentralized platforms. If you want to build an audience, establish a personal brand, or market a business, video content is your most powerful tool. Becoming a successful content creator with CapCut has never been easier, even if you are just starting from scratch.
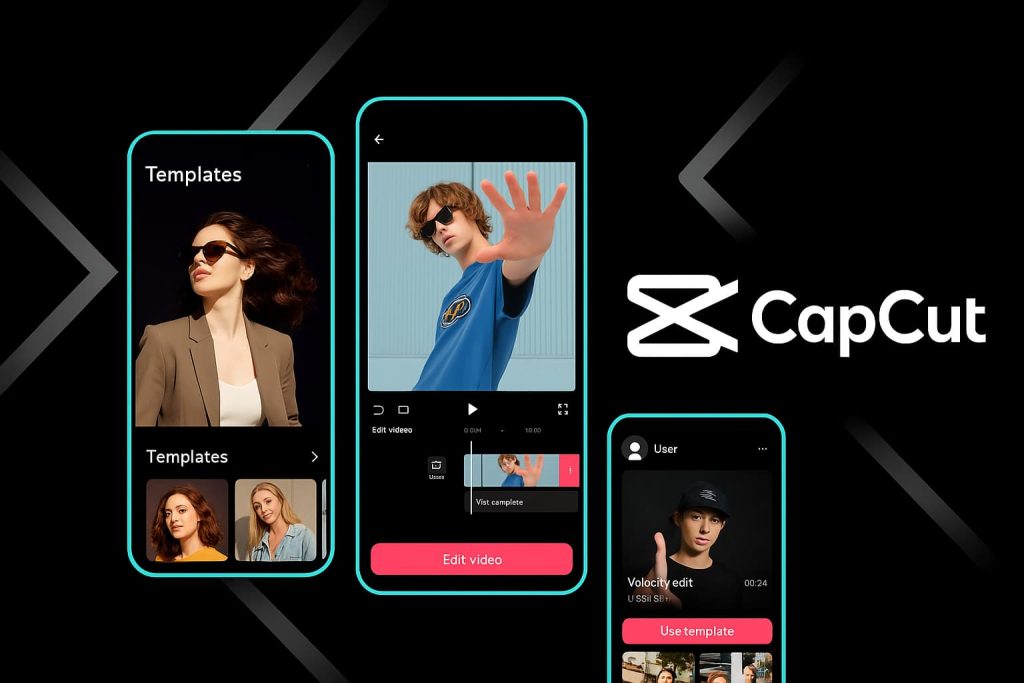
The biggest hurdle for aspiring digital creators is often the perceived complexity of video editing software. However, powerful tools have democratized production. You don’t need an expensive desktop setup, an ultra-fast computer, or even a downloaded application to produce studio-quality videos. Becoming content creator with Capcut is easy. CapCut offers a fully optimized, AI-powered web browser ecosystem that handles everything from generating scripts to professional editing directly in your cloud dashboard.
This guide provides a comprehensive, step-by-step roadmap to building your brand as a content creator with CapCut‘s browser-based platform. No app installation or complex screenshots required—just open your browser, follow these instructions, and start creating engaging content today.
The 2026 Blueprint: Setting Your Content Creator With Capcut Strategy
Before touching an editing timeline, you must establish your creative direction. The digital landscape rewards consistency, specificity, and a solid workflow. Every modern content creator with CapCut knows that a great video begins long before entering the editor.
- Define Your Niche: Focus on a specific intersection of your interests. Instead of “fitness,” consider “home workouts for busy professional women.” Instead of “travel,” target “solo budget travel guides.”
- Choose Your Core Platform: Decide where your target audience hangs out. Vertical short-form algorithms prioritize highly engaging, fast-paced loops, making them perfect for testing concepts.
- Commit to a Realistic Schedule: Consistency beats temporary perfection. Aim for three high-quality short-form videos per week rather than burning out attempting daily uploads.
Phase 1: Accessing the Browser Ecosystem
CapCut’s cloud-based workspace is accessible from any modern web browser on a laptop or desktop computer. This flexibility allows anyone to act as a mobile content creator with CapCut without relying on heavy hardware installations.
- Open your browser and navigate to the official CapCut website.
- Click on the Edit online or Sign up for free option located prominently on the landing page.
- Create an account using your email, Google login, or existing social credentials. This sets up your secure personal cloud storage space, ensuring all your media assets, active timelines, and drafts are saved automatically and accessible from any machine.
Phase 2: Starting a New Project and Understanding the Interface
Once logged into your online dashboard, you will be greeted by a clean, centralized workspace interface designed for rapid production. When you work as a content creator with CapCut, familiarity with this layout is your shortcut to efficient daily editing.
- Click on the Create new video button. A prompt will ask you to choose an aspect ratio. Select 9:16 (Vertical) for TikTok, Shorts, and Reels, or 16:9 (Horizontal) if you are building long-form YouTube content.
- Observe the three core sections of your browser workspace:
- The Left-Side Asset Panel: Your library for uploading personal footage, as well as accessing built-in audio tracks, text layouts, transitions, and filters.
- The Center Preview Window: Your virtual monitor showing exactly how your video looks in real-time.
- The Bottom Multi-Track Timeline: The horizontal grid where you arrange, trim, and stack your video clips, background music, and text layers.
Phase 3: Utilizing AI Script Generation and Media Ingestion
Good editing cannot save a poorly structured story. The hook must grab the viewer within the first two seconds. If you struggle with writing, you can lean on CapCut’s browser-integrated smart tools to build scripts effortlessly.
- Locate the Script-to-Video or smart writer tools available in the cloud dashboard menu before opening the blank timeline.
- Type in your video core concept, select your target platform style (e.g., educational, narrative, promotional), and let the assistant generate a structured script complete with explicit visual cues and a clear call to action.
- To bring your script to life, go to the Media tab on the top-left section of the editing dashboard. Click the Upload button to pull video files directly from your computer’s local folders, Google Drive, or Dropbox. As a high-volume content creator with CapCut, organizing your raw assets into clear folders beforehand is highly recommended.
- If you lack custom footage, navigate to the Elements or Stock Videos tab within the left panel to browse thousands of high-definition, royalty-free background clips and B-roll options.
Phase 4: Mastering Basic Editing Workflows
With your media clips successfully imported into the sidebar, it is time to assemble the narrative backbone of your video. Any professional content creator with CapCut will tell you that the magic happens in the pacing.
- Drag your primary video files from the left asset library panel down onto the main track of the bottom horizontal timeline.
- Move the vertical playhead line to the exact moment you want a clip to begin, click on the clip to select it, and press the Split icon (resembling a dividing line or scissor shortcut) on the timeline toolbar. Select the unwanted opening segment and hit delete to create a sharp, immediate start.
- Arrange your sequence by clicking and holding individual blocks on the timeline, sliding them left or right to reorder your clips seamlessly.
- Keep the pace tight. Remove dead space, pauses, breaths, and filler words (“um,” “uh”) to protect your viewer retention rate.
Phase 5: Enhancing Content with Auto-Captions and Visual Layers
Audiences frequently watch short-form videos on mobile devices with the sound turned completely off. Dynamic, on-screen text overlays are mandatory for keeping viewers engaged. Growing an audience as a content creator with CapCut requires making your videos accessible and engaging at first glance.
- Look at the vertical navigation bar on the extreme left edge of the screen and click on the Captions icon.
- Select Auto captions, choose your spoken language, and click Generate. The browser cloud processing engine will analyze the audio track and automatically create timed text blocks directly above your video track.
- Click on any text block on your timeline to open the Text Formatting Panel on the right side of the screen.
- Change the font style to a bold, highly visible choice, increase the font size, add a stark black outline or background glow, and apply a dynamic kinetic text animation (like a fade-in or pop effect) to make the text sync rhythmically with your voice.
Phase 6: Adding Audio, Sound Effects, and Polishing
Sound design separates amateur creators from seasoned professionals. Layering audio builds an immersive psychological environment that hooks the viewer’s subconscious attention.
- Click the Audio tab on the left-side panel. Browse the curated categories for background audio tracks.
- Drag your chosen background track onto the secondary audio row directly beneath your main video track on the timeline.
- Select the audio clip, open the right-side configuration panel, and reduce the overall background music volume down to roughly -15dB to -20dB. Your speaking voice must remain crystal clear and never be drowned out by the beat.
- Go back to the audio panel, switch to Sound Effects, and search for short ambient assets like a “whoosh” for text arrivals or a subtle “camera click” for sudden visual transitions. Drop these precisely at the points where visual layers change on screen. Executing this step correctly will instantly establish your identity as a premium content creator with CapCut.
Phase 7: Exporting for Maximum Quality
With your narrative tight, captions perfectly stylized, and sound mixed correctly, you are ready to export your content and publish it online.
- Click the blue Export button located in the absolute top-right corner of your browser screen.
- Select Download to save the file to your machine.
- Configure your export settings for modern social platform algorithms: Set the resolution to 1080p (Full HD), choose a high bitrate, select a frame rate of 30 FPS or 60 FPS, and ensure the format is set to MP4.
- Click the final Export button at the bottom of the prompt window. CapCut’s remote cloud servers will render the video, providing a downloadable link once the file is fully ready.
Summary of Core Best Practices for 2026
- Prioritize the First 3 Seconds: Put your boldest hook phrase, an unexpected visual cut, and dynamic text within the initial moments to stop users from scrolling past.
- Keep Text Safe-Zone Compliant: Position your auto-captions in the center of the vertical screen layout. Avoid the extreme top, bottom, and right margins, where native user interface icons (like profile photos, descriptions, and likes) will obscure your hard work.
- Review Before You Publish: Play your video all the way through inside the browser preview window one final time to check for overlapping audio layers or misspelled captions before downloading. Achieving massive reach as a content creator with CapCut comes down to maintaining an eagle eye for these small production details!
If you don’t have any time to do video editing for your content, contact us and our content creator will do it for you! Don’t be hesitate to be content creator with Capcut!