In today’s visual-first digital landscape, Canva tutorial for beginners is so important because creating eye-catching graphics is no longer just a job for professional agency designers. Whether you are an entrepreneur looking to boost your brand with captivating social media graphics, a blogger needing clean featured images, or a business owner presenting a pitch, high-quality visuals are essential.
Fortunately, modern graphic design tools have completely revolutionized the way we create content online. Canva stands out as the ultimate free design platform because it democratizes creative workflows by offering an intuitive drag-and-drop system. If you have been wondering how to use Canva to elevate your brand’s digital presence, this complete canva tutorial for beginners will walk you through the exact process step-by-step.
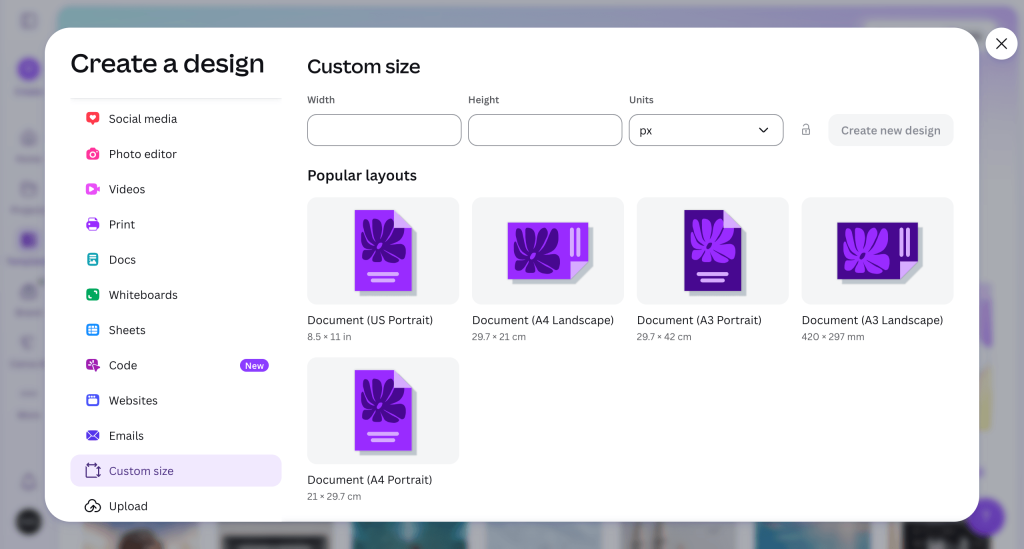
Step 1: Set Up Your Canvas and Choose Dimensions
Before you start adding elements, you need to decide what asset you are creating. Canva offers thousands of pre-set dimensions optimized for specific platforms, making it incredibly user-friendly.
- Log in to your account. On the homepage, click the Create a design button in the top right corner.
- Select a pre-made dimension from the dropdown menu, or click Custom size to enter your exact pixel width and height.
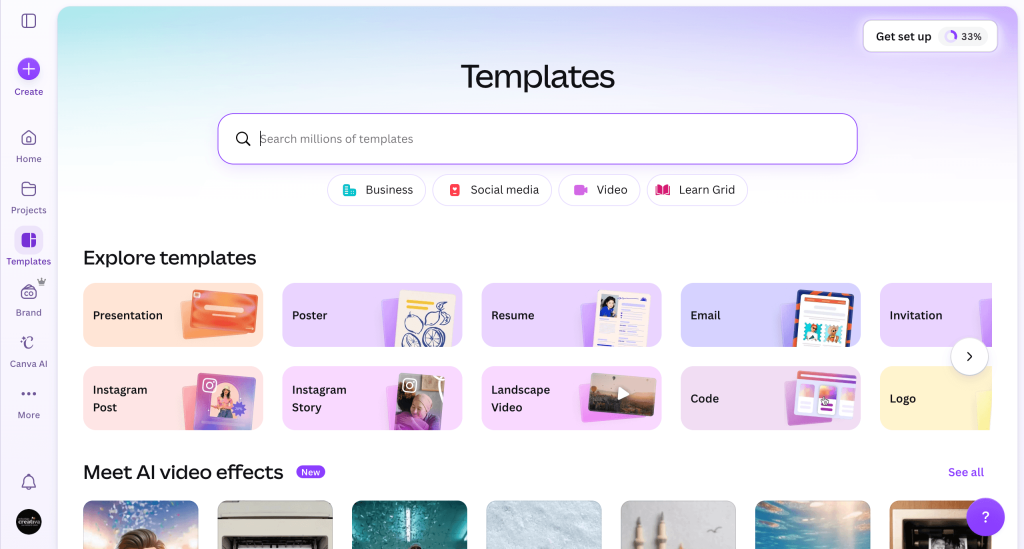
Step 2: Explore the Template Library in this Canva Tutorial for Beginners
Canva’s massive library of professionally designed templates is its greatest strength, allowing anyone to bypass the intimidation of a blank page.
- Look at the left-hand sidebar menu and click on the Templates tab.
- Type keywords into the search bar (e.g., “Minimalist Marketing” or “UMKM Bali Banner”) to filter options.
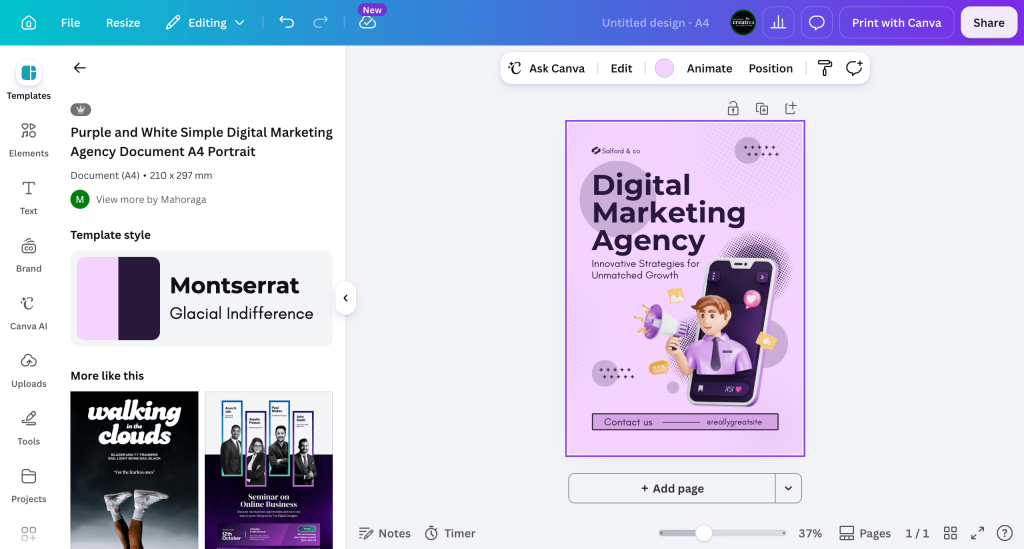
- Click on a template to load it onto your workspace, or leave the canvas blank if you want to build your layout from the ground up.
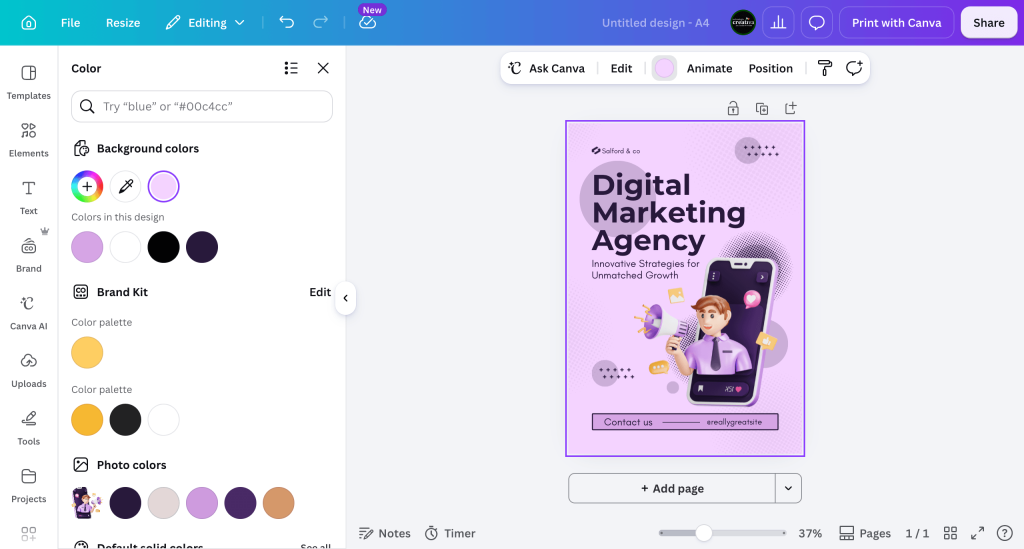
Step 3: Customize Colors to Fit Your Brand
To make your graphics unique, you need to break away from standard templates and apply your own cohesive color scheme.
- Click directly on the background area of your canvas. A color square box will appear on the top editing toolbar.
- Click the color square box and select a shade from your default palette, or click the + icon to input a specific hex code.
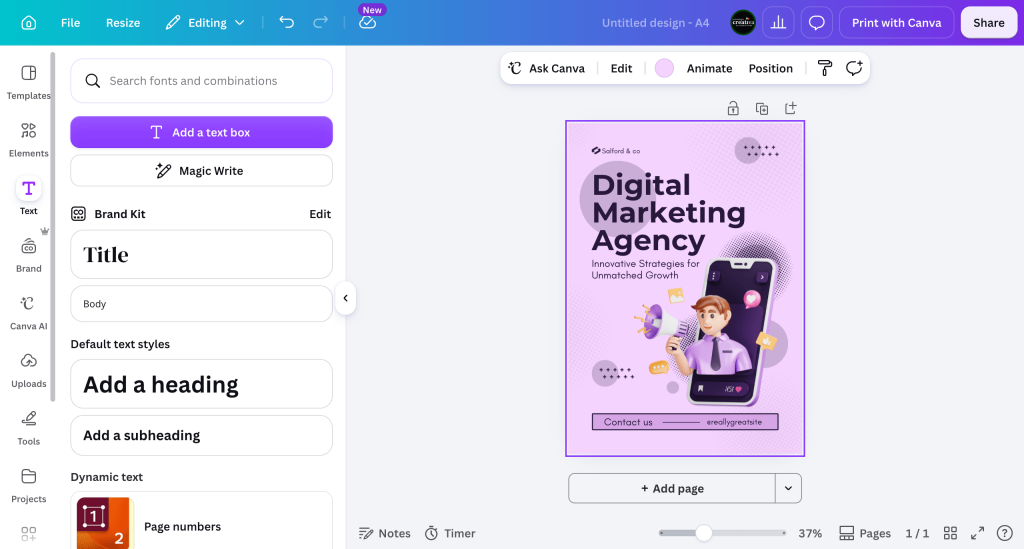
Step 4: Add and Format Typography
Great digital products rely heavily on clean typography. Learning how to use Canva effectively means understanding how to structure headings and body text for maximum readability.
- Click the Text tab on the left sidebar.
- Click Add a text box or choose a pre-styled, complementary font combination.
- Double-click inside the text box on your canvas to type your message. Use the top toolbar to adjust the font style, size, alignment, and spacing.
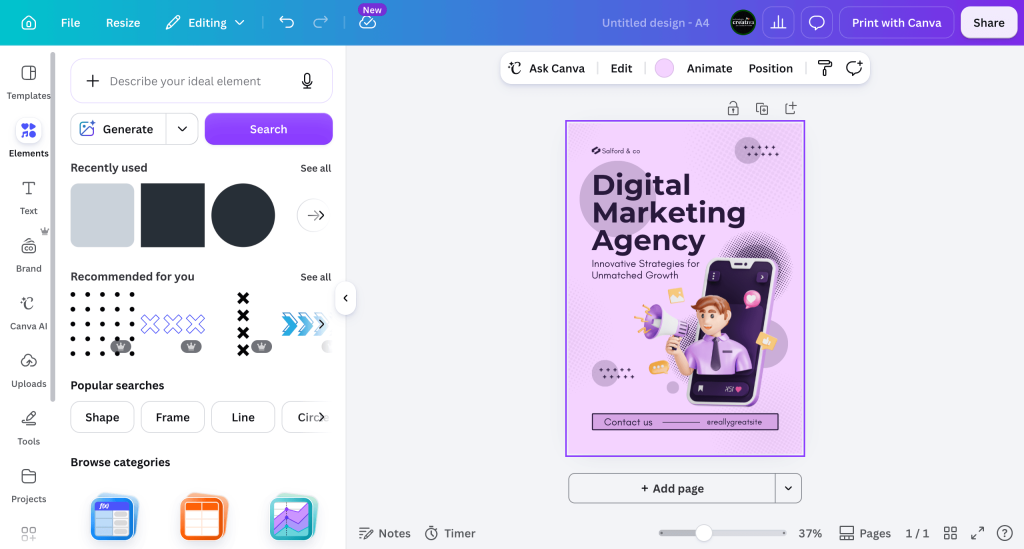
Step 5: Incorporate Graphic Elements and Photos
Now it is time to bring your vision to life. This free design platform offers millions of vector assets, shapes, lines, stickers, and professional stock photographs.
- Navigate to the Elements tab on the left panel.
- Search for specific items matching your project theme (e.g., “digital marketing icon” or “organic shapes”).
- Drag your chosen element onto the layout. You can resize it by pulling the corner handles or adjust its transparency using the checkerboard icon on the top toolbar.
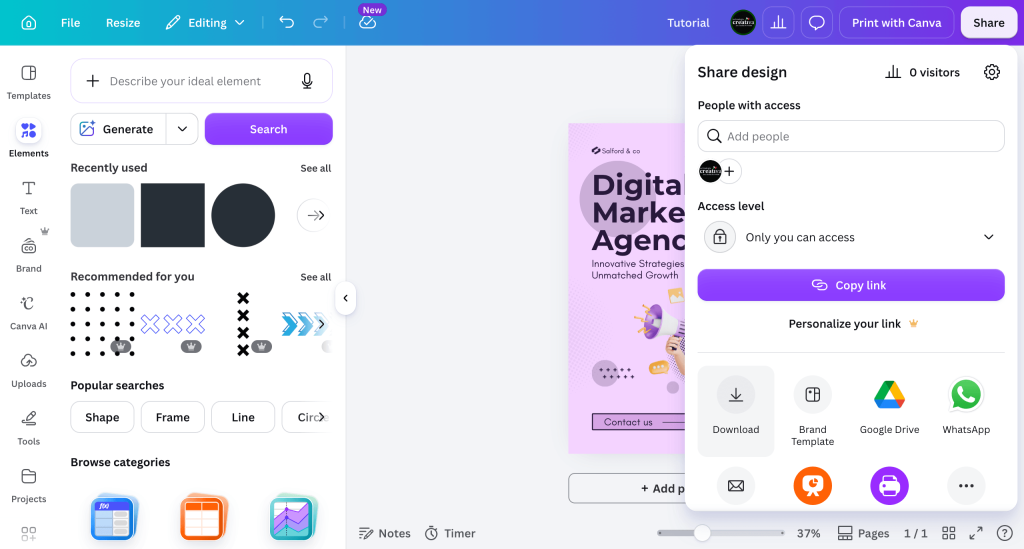
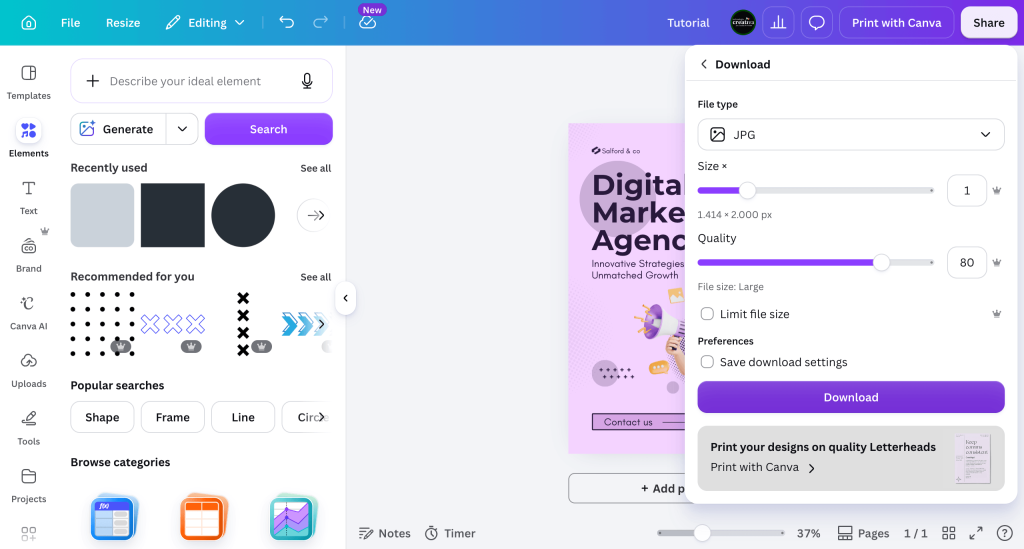
Step 6: Download and Export Your Final Work
Once you are satisfied with your custom layout, the final phase of this canva tutorial for beginners is exporting your brand-new digital asset correctly.
- Click the Share button in the top right corner of the screen.
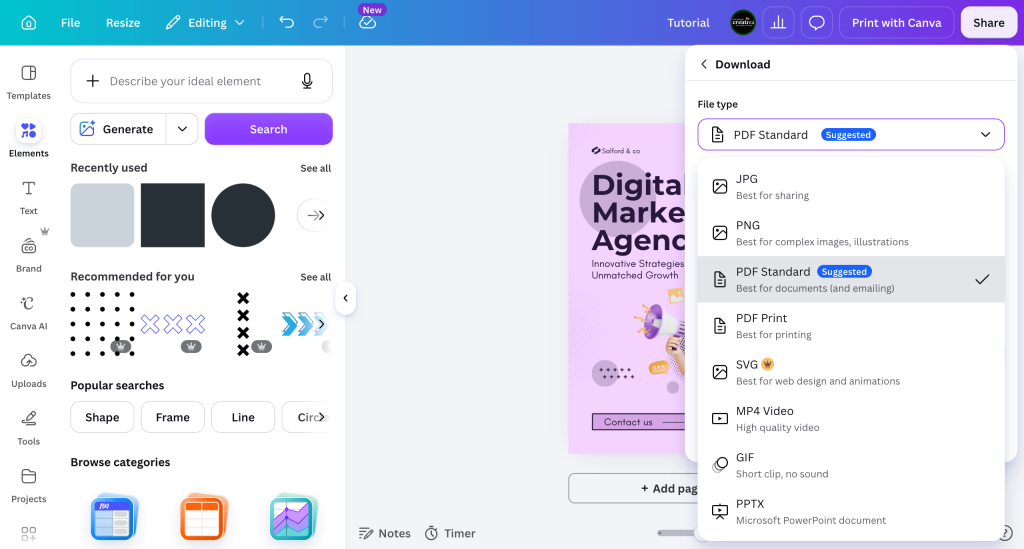
- Select Download from the dropdown menu.
- Choose your preferred file type (use PNG for high-quality social media graphics, JPG for compact web files, or PDF Print for physical documents) and click the final Download button.
Conclusion: Next Steps for Design Beginners
Creating professional visual content does not have to be overwhelming or expensive. By mastering the foundational layout steps covered in this canva tutorial for beginners, you can efficiently produce stunning graphics that engage your target audience.
Remember, the secret to clean design is simplicity—keep your color palettes focused, your fonts highly legible, and always give your elements room to breathe. Happy designing!